

 English


Increase the value of your gift, How to tie a ribbon neatly
Packaging
Giving a Pretty GiftTying Ribbons for Gift Wrapping
Give you my heart
Pretty Ribbon tying Method
Did you know that just changing the gift wrapping method
could change the quality of the gift?
Add a point with a pretty ribbon to a simple design.
This month, we prepared a video as well as pictures.
If you follow along slowly, you can have a pretty package too!
Make a pleasant gift for everyone with a DIY class.
01
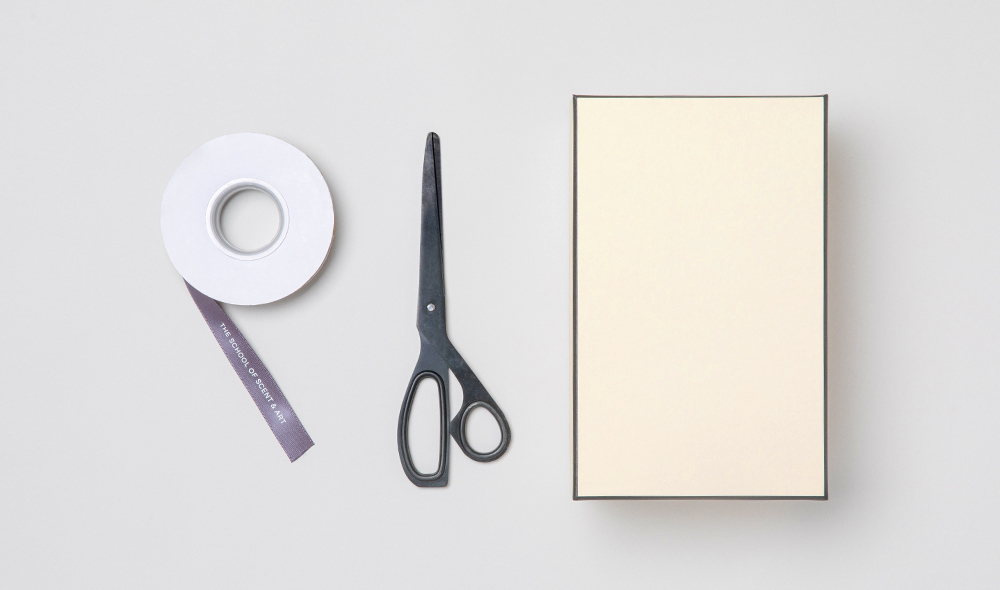
Preparing
Prepare | TSSA Lilac Printed Satin Ribbon (16mm), Scissors, Small Beige Hardcase (No Logo) (box to be packed)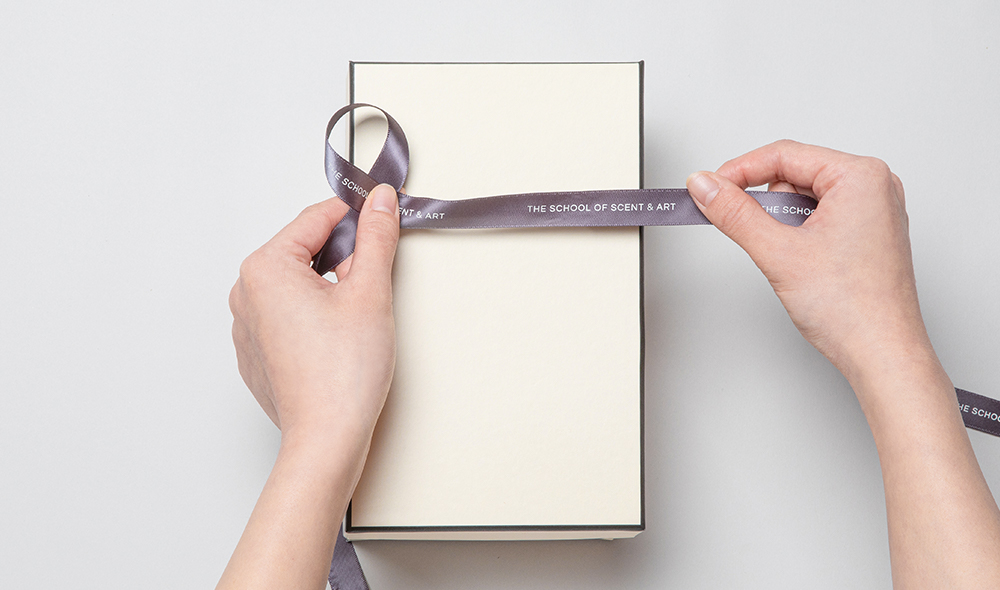
02
Cutting the Ribbon
Grab the part where the ribbon loop and tail will be made, measure the length of the amount to be made roughly, and cut generously with a margin.
03
Winding the Ribbon
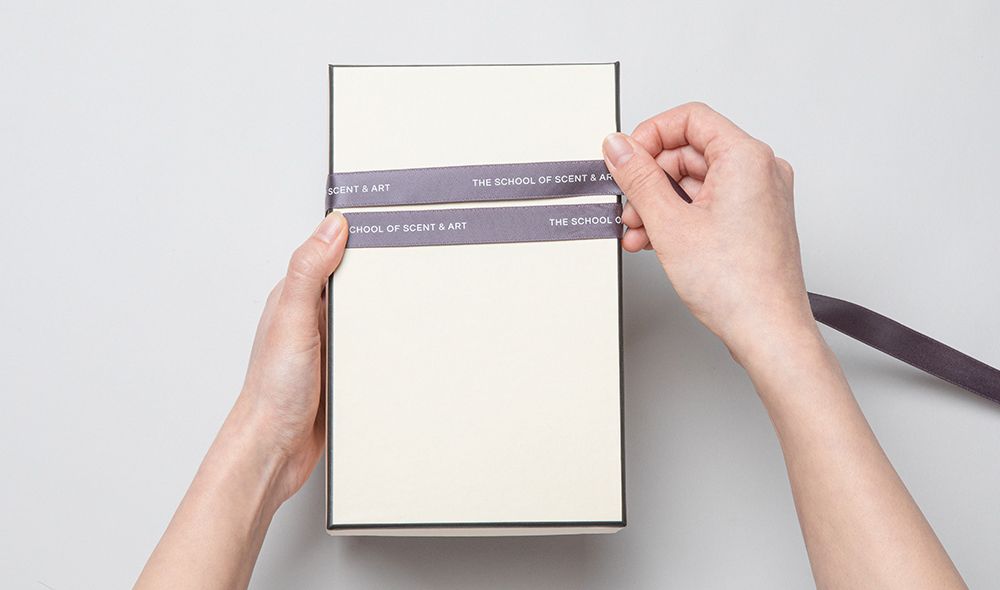
Leave as much as the ribbon loop and tail, and turn the other ribbon around to the right.
04
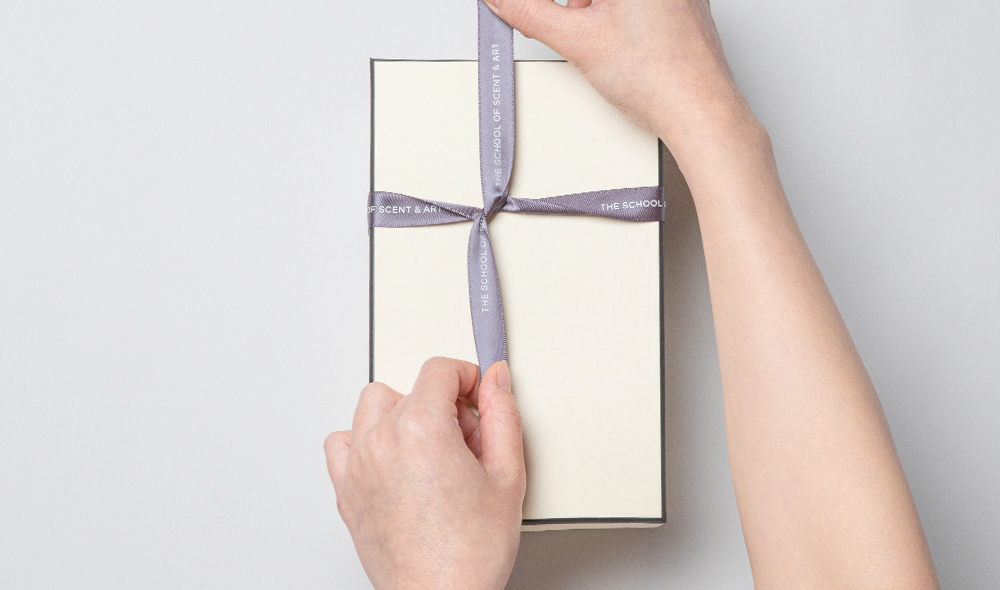
04. Hanging the Ribbon with a Cross
Bend the ribbon in a cross shape so that the returned ribbon rises from the bottom to the top.
(Hold both the short ribbon at the bottom and the long ribbon at the top so that the printed top is visible.)
05
Winding the box
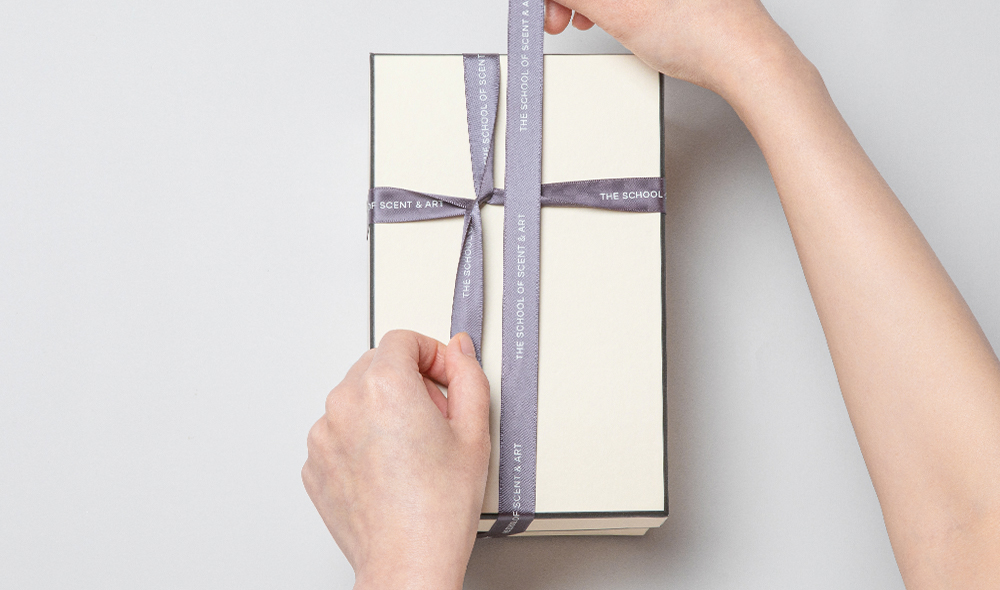
While pressing the middle of the short cross-shaped ribbon with the thumb of your left hand, wind the box up one round with the long ribbon on the top. Hold the long rolled ribbon to the right of the short ribbon.
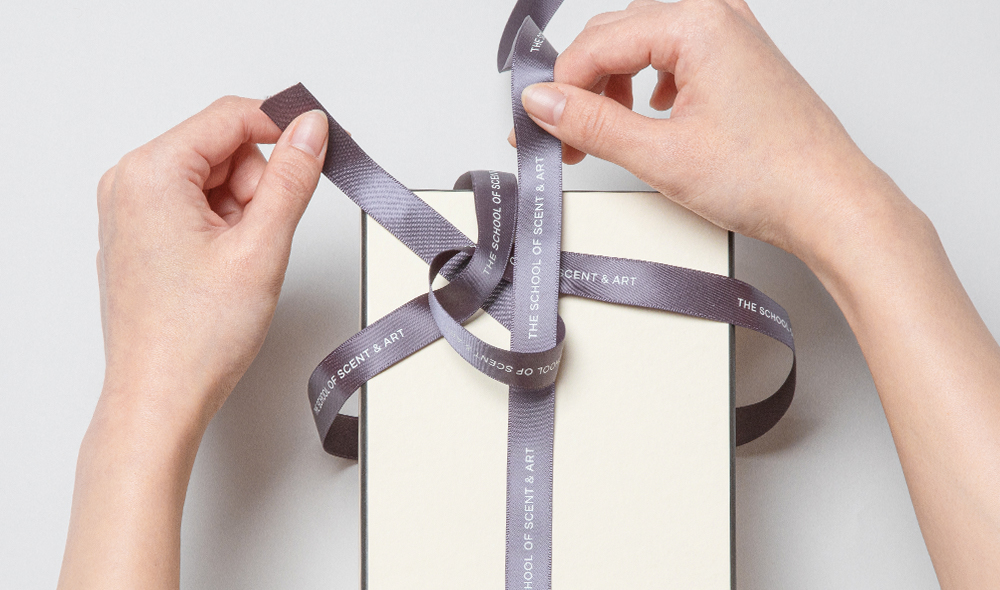
06
Tying a knot-1
With the short ribbon placed on the left, insert the entire knot from the bottom right corner and pass it through the upper left corner to make a knot.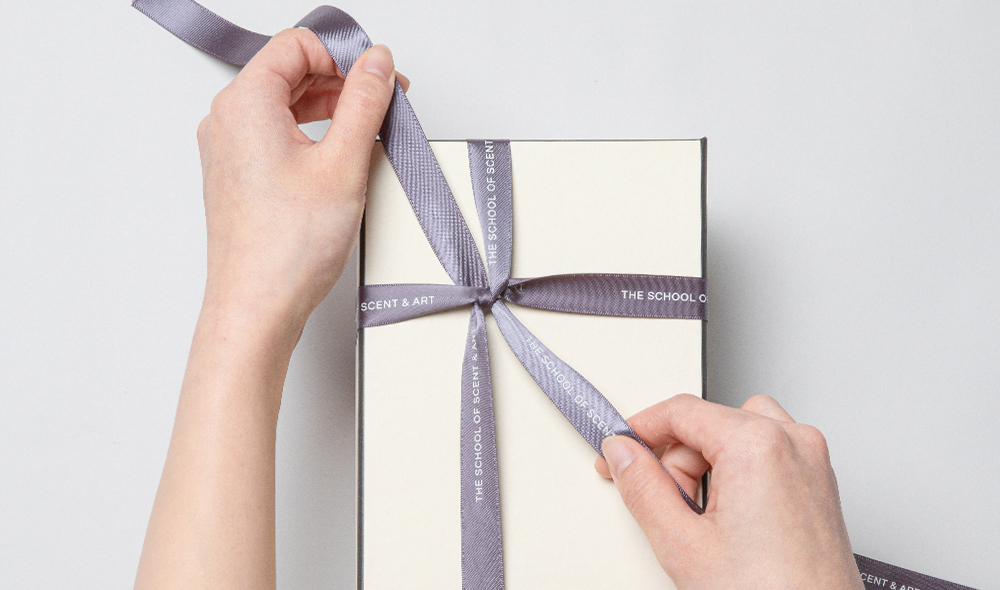
07
Tying a knot-2
Short ribbons going up to make the backside of the print text visible, and long ribbons going down make the top side prints visible.At this time, pull the long ribbon on the top of the wound in the bottom right corner to make the ribbon firm.
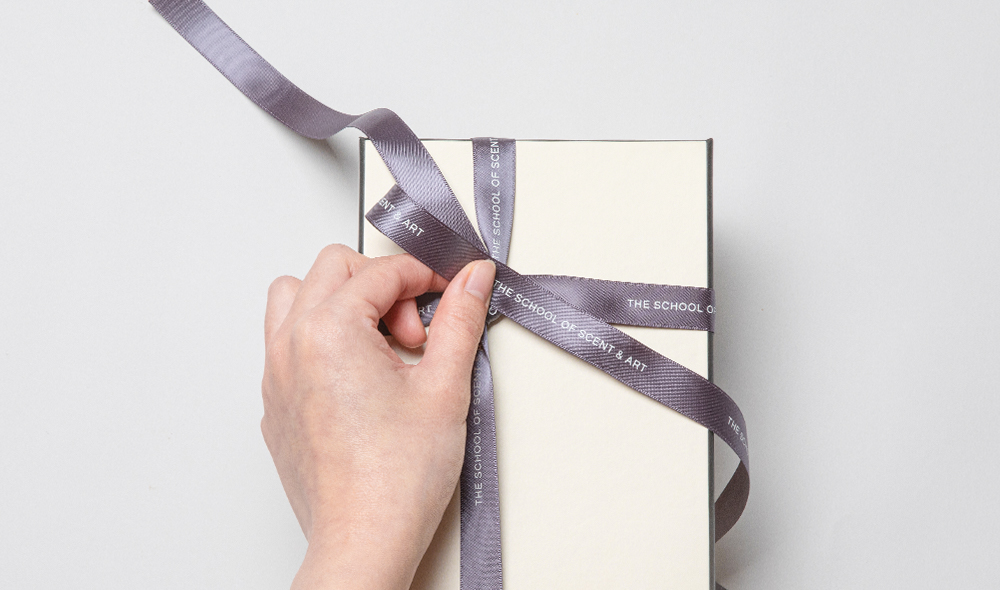
08
Making a Ribbon-1
Make a loop with the long ribbon located at the bottom right corner in the upper left direction.
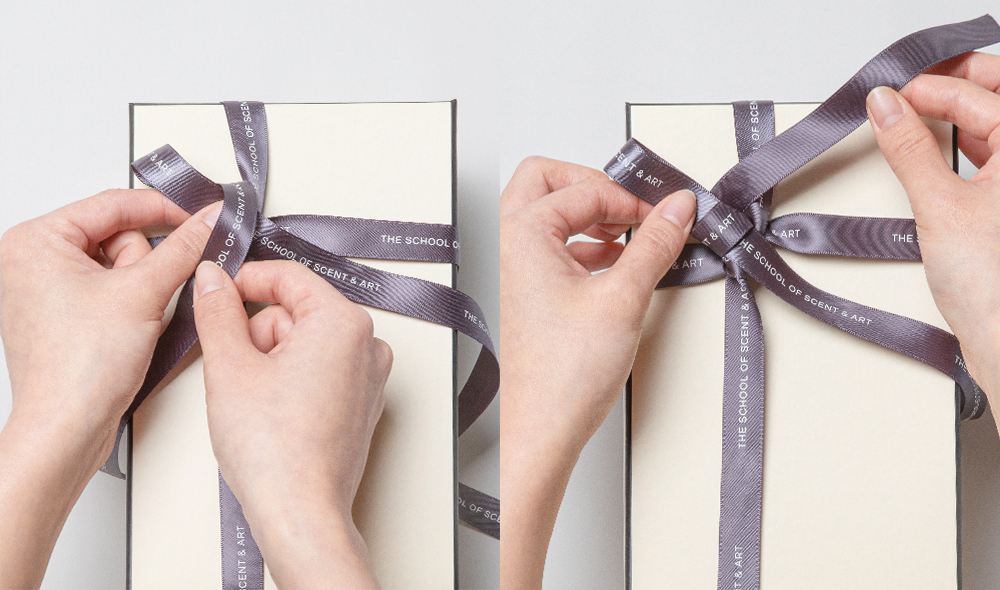
09
Making a Ribbon-2
Please make a short ribbon with the backside visible at the top, rotate it to the front of the loop, and wind it one round.
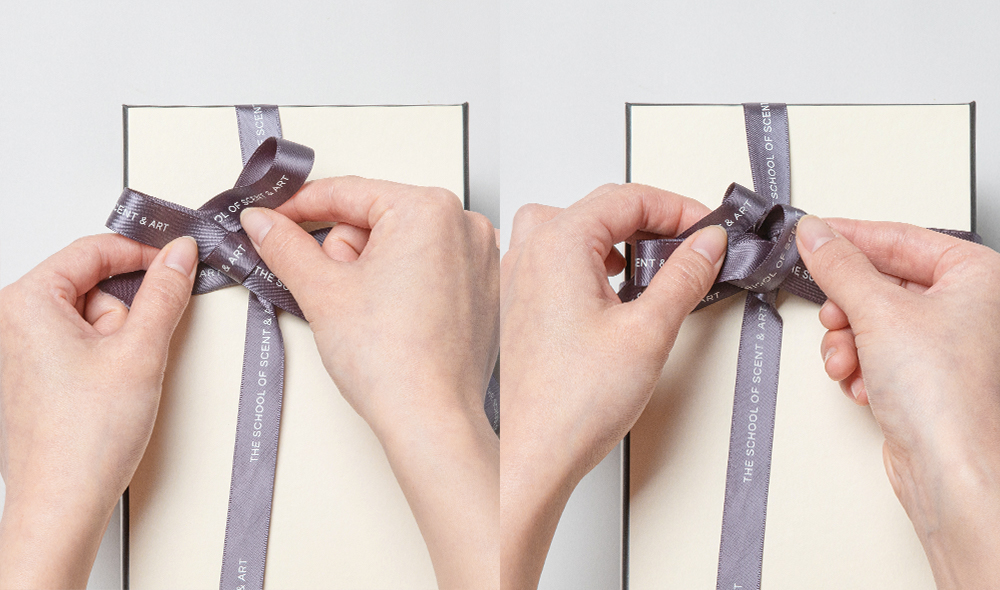
10
Tying a Ribbon-1
Please make a new loop with the ribbon wrapped around one round and put it through the grooves.
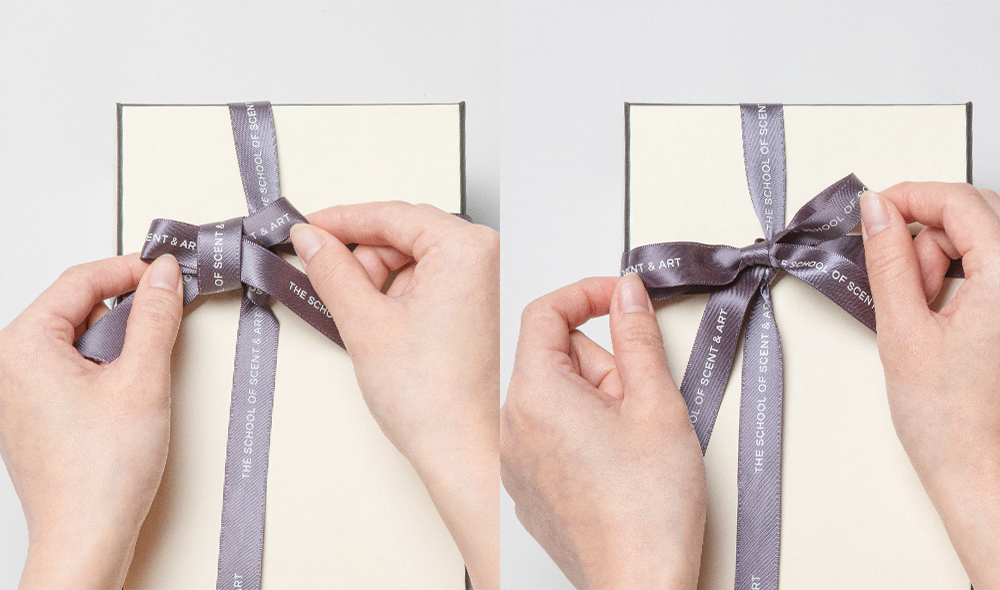
11
Tying a Ribbon-2
The ribbon inserted through the grooves is firmly fixed so that it does not loosen.
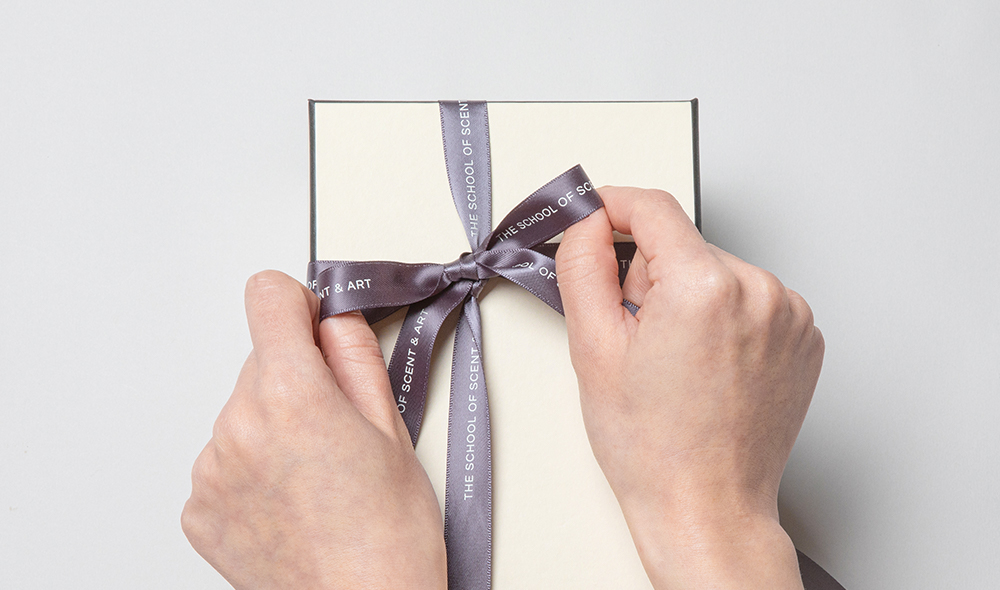
12
Adding the Ribbon Volume
Put your thumb in the loop part of the ribbon, hold the back part of the loop with your index finger and pull it to both sides.
The ribbon's tail should be kept in place with another finger to prevent it from sticking up. You can make a pretty ribbon by giving your thumb strength and making it around, voluminous feel.
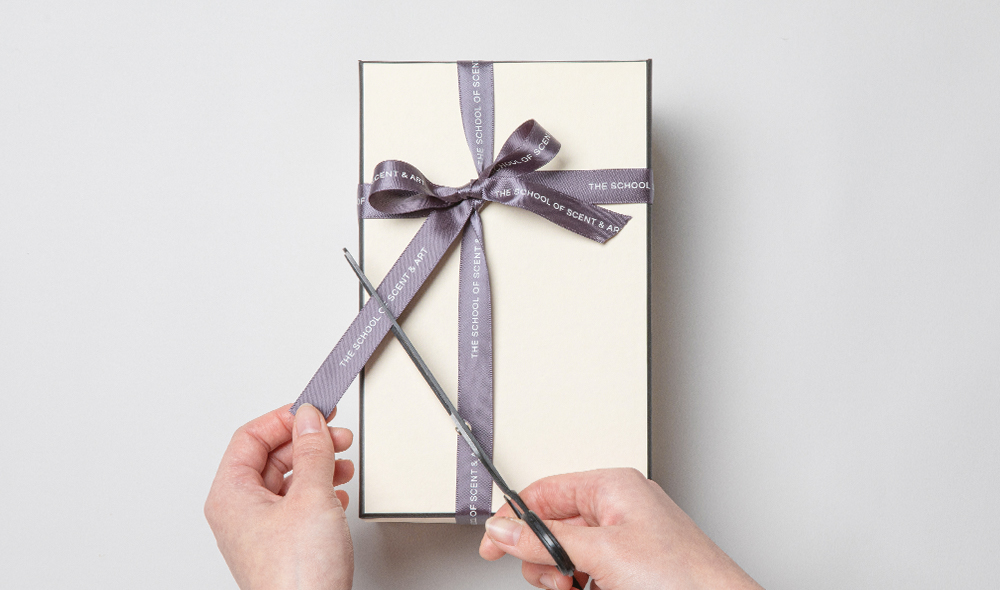
13
Organizing
Cut the remaining ribbon to the desired length and arrange it.(Please do not cut in the middle of the printing.)
DIY ITEMS
Tying Ribbon for a gift wrappingThis content is copyrighted by Chromaworks Inc. and may not be used commercially without permission.
DIY Items
Tie a Ribbon for Gift Wrapping
-
4.54 (USD)
Small Beige Hardcase (No Logo)
1pc × 1 EA
-
4.54 (USD)
Avec Indie Pink Printed Satin Ribbon (16mm/1 Roll)
1 Roll (18m) × 1 EA
Related Products
Related products